You pick up your bar of soap and it practically folds in half. The bottom is a soggy, slimy mess, there’s a puddle of dissolved soap in the dish, and the bar that should have lasted two months is a wrinkled nub after three weeks. I went through this exact cycle for years — I thought it was just the price of liking bar soap. It isn’t. A mushy soap bar in the shower is almost always a storage and drainage problem, and it’s fixable with changes that cost little or nothing. Here’s how to stop soap bar getting mushy shower for good.
I’ve tested nearly every trick people recommend, from fancy magnetic holders to cutting the bar in half, and I can tell you exactly which ones are worth it. If you want to learn how to stop a soap bar from getting mushy in the shower, start with this guide and work through the seven fixes below. Your soap will last noticeably longer, stay firmer, and stop leaving that grey slime all over your shower shelf.
Table of Contents
Why Soap Bars Turn Mushy — and How to Stop Soap Bar Getting Mushy Shower
It helps to know what you’re actually fighting. Bar soap is made by turning fats and oils into a solid through saponification. The finished bar is still water-soluble — that’s literally how it cleans you. Every time water sits on the surface, the outer layer softens and dissolves. That’s fine during your shower. The problem starts when the bar never gets a chance to dry out again.
When a soap bar sits in pooled water or in a dish with no drainage, the bottom stays wet around the clock. The softened layer gets thicker and thicker, and eventually the whole underside turns into that familiar goo. Constant moisture doesn’t just waste soap, either — research has found that bar soaps that stay consistently wet can host more microbes on their surface than dry ones. So keeping your bar dry isn’t just about saving money; it’s also the more hygienic way to use it. (If you want the science behind that, this piece from Discover Magazine explains the 2006 study on bar soap bacteria and why rinsing and drying the bar matters.)
The good news: the physics are simple. Less contact with standing water + more airflow = a firm, long-lasting bar. Every fix below works on that principle.
1. Switch to a Proper Draining Soap Dish
This is the single biggest change you can make, and it’s the one I wish someone had told me a decade ago. Those cute flat ceramic dishes with no drainage holes? They’re soap killers. Water collects under the bar and the bar marinates in it all day.
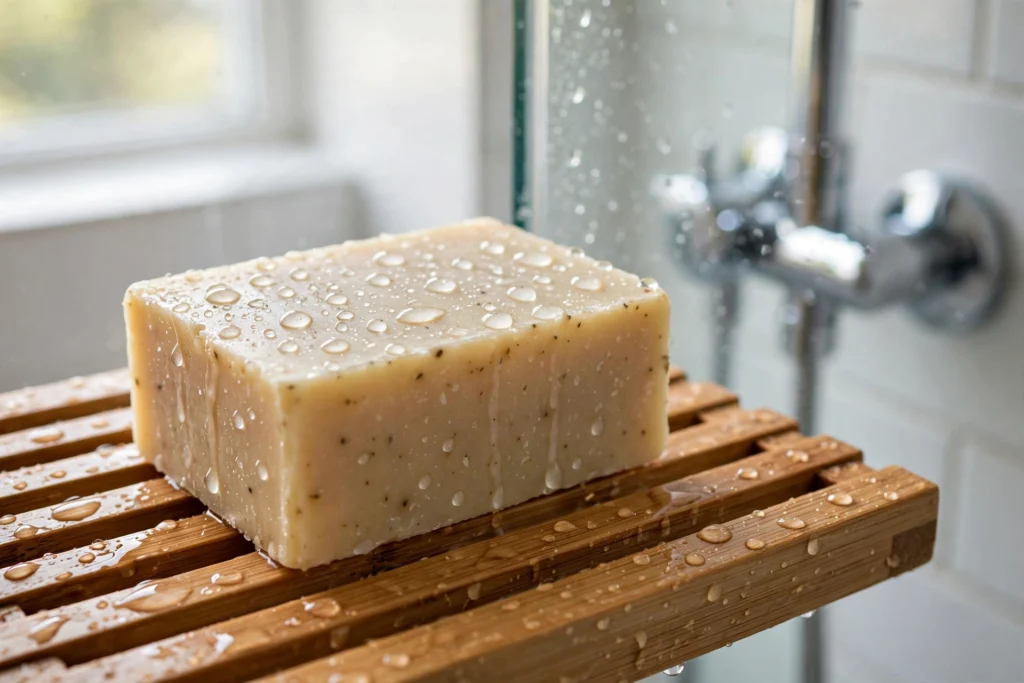
What you want is a dish with slots, slats, ridges, or raised bumps that hold the bar up and let water fall away. Bamboo slatted dishes work well and look good, and silicone dishes with drainage channels are cheap and easy to rinse. If your dish doesn’t drain, prop the bar on its narrow edge instead of lying it flat — that alone exposes more of the surface to air.
I swapped my solid dish for a slatted bamboo one about a year ago, and the difference was immediate. The underside of my bars stays nearly as dry as the top now, and a bar that used to melt into a puddle in three weeks lasts closer to two months.
2. Keep the Bar Out of the Direct Water Stream
This sounds obvious, but check where your soap dish actually sits. If it’s on the shower shelf directly under the spray, your bar is taking a full bath twice a day on top of your actual bath. That constant bombardment keeps it soft even in a good dish.
Move the dish to a corner shelf or a spot the spray doesn’t hit, or take the bar out of the shower entirely after you use it. I keep mine on a slatted dish on the bathroom windowsill — it dries beautifully between showers and there’s no soap scum building up in my shower tray. If you share the bathroom and don’t want your soap wandering, a small caddy hooked outside the splash zone works too.
3. Let the Bar Dry Completely Between Uses
Here’s a habit change that costs nothing: rotate two bars. Seriously. Use one bar in the morning, set it aside to dry for a full 24 hours, and use the second bar the next day. A bar that gets a genuine day of drying stays hard and dense; a bar that never fully dries stays soft in the middle and wears down fast.
If two bars feels like a hassle, at least shake the water off the bar after you shower and stand it on its edge. The edge has less surface area touching the dish, so water runs off and air circulates around it. I did this for months before buying anything new, and it noticeably slowed the mush.
4. Choose a Harder-Milled Soap
Not all soap bars are built the same. Triple-milled soaps are processed three times through rollers, which squeezes out excess water and air and produces a much denser, harder bar. They cost a little more, but they resist softening dramatically better than soft, cold-process artisan bars.
On the flip side, high-glycerin bars — the transparent, honey-like ones — are humectants, meaning they attract water from the air. They feel lovely but they go soft fast in a humid bathroom. If your bar turns mushy no matter what dish you use, try switching to a hard-milled bar and see how long it lasts. This is one of those fixes where I noticed the change within a single week.
5. Try a Magnetic Soap Holder
I was skeptical about this one — it looked like a gimmick. But a magnetic soap holder, where you press a small metal disc into the top of the bar and let it hang from a magnet, is genuinely excellent. The bar hangs in open air with no surface touching anything, so it dries on all sides. Water drips straight off.
It takes a few days for the disc to seat firmly into a new bar (press it in on day one and give it a day before hanging). After that, it holds strong. This is my favorite option for small showers where there’s no good shelf, because the bar hangs from a wall mount up high, away from the spray.
6. Cut the Bar Into Smaller Pieces
A full-size bar has a large surface area, and the unused part sits in moisture while you lather from one end. Cutting the bar in half and using one half at a time means the other half stays factory-fresh in a drawer. It also dries faster because there’s simply less mass to dry.
Use a sharp kitchen knife and cut cleanly. Some people also find a smaller piece easier to grip, which means less dropping and less handling — and every time you handle a wet bar, you work more water into it.
7. Store Your Spare Bars Somewhere Dry
Your unopened bars matter too. Storing spare soap in a damp bathroom cabinet, or worse, in the shower “for later,” exposes them to humidity that softens the surface before you even open them. Keep unused bars in a dry drawer or cupboard, and leave the packaging on until you’re ready to use them. Properly stored, a bar keeps its hardness for months.
What NOT to Do
A few things I’ve tried that I wouldn’t recommend:
- Microwaving the bar to “reharden” it. It might firm up briefly, but the heat changes the soap’s structure and it melts even faster afterward. It also stinks up the microwave.
- Freezing a mushy bar. Same story — once it thaws, the damaged structure absorbs water even quicker.
- Using a washcloth wrapped around the bar as a “soap sock” and leaving it in the shower. The cloth holds moisture against the soap and makes the mush worse. A soap saver bag is only useful if you hang it up to dry between uses.
The 30-Second Version
If you only remember three things: use a dish that actually drains, keep the bar out of the direct spray, and let it dry fully between uses. Those three changes alone took my soap from a three-week slimy nub to a firm bar that lasts two months.
I wish I’d learned this sooner instead of quietly assuming bar soap was just a wasteful habit. The bar wasn’t the problem — the puddle it was sitting in was. Fix the puddle, and your soap suddenly behaves the way it should.
By the way, if you like practical home fixes like this, you might also enjoy my guide on how to stop a fitted sheet from slipping off your mattress — another small daily annoyance with a surprisingly simple fix.